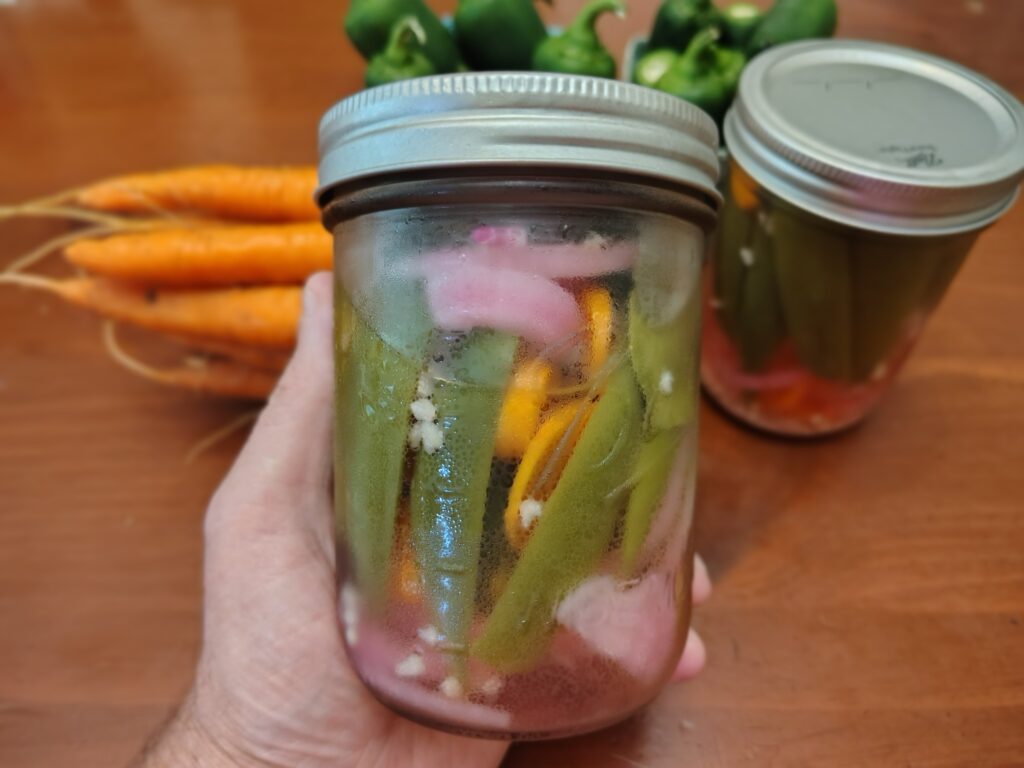
escabeche in a mason jar

When I first moved to Amherst, I discovered La Veracruzana: a Mexican restaurant that had a salsa bar. Included in the salsa bar was something they called “escabeche.” I had never seen it before: a mix of pickled onions, carrots, and jalapeños. It was delicious. I would always get some whenever I ordered from the restaurant. Our grocery stories didn’t have anything like it, so it was something I could only get at this one restaurant.

If you look up escabeche, the word often refers to a dish like ceviche, with fish or meat prepared in an acidic solution, which causes the proteins to denature — like they’ve been cooked — but without killing the bacteria or parasites, like cooking would. Brrr! No thank you.

Several years ago, I noticed at our local farm stand that the jalapeños and carrots get ripe at the same time. Aha! I thought. I wondered how hard it would be to make my own escabeche. Every year, I would see the jalapeños and carrots and think, “I should look up a recipe and try it.” But never would.

This year, I discovered that Walmart carries huge cans of escabeche — for cheap. Walmart caters to the migrant farm workers that come to Hadley to cultivate and harvest their cash crops. Walmart has bilingual signage and a lot specialty Hispanic goods and seem to have locked up that market. The escabeche is good too!

Still, when I saw the carrots and jalapeños at the farm stand this year, I decided it had to be now or never. So I went ahead and and bought two bunches of carrots, four boxes of jalapeños, and some mason jars. Then I started looking at recipes.

I should have looked at the recipes first. It turns out that most of them only keep for 2-3 weeks because they’re not really “canned”. I guess I’m going to be eating a lot of escabeche really fast.

I looked at a bunch of recipes. They’re all similar, but with minor differences. Interpolating, I tried to craft my own.
Here’s what I used for my first batch:

  • 2 cups water
  • 3 cups distilled white vinegar
  • 1/3 cup white sugar
  • 1/3 cup kosher salt
  • fresh jalapeños (quartered), carrots (sliced), and red onions (halved and sliced)
  • spoonful of garlic
  • 2 bay leaves

I put the jars in an inch of boiling water to sterilize them.

I mixed the water, vinegar, salt, and sugar and brought it to a gentle boil.

I chopped up the vegetables and packed the jars (I should have packed them tighter).

I filled the jars with the boiling pickling brine and sealed them up.

Then I let them cool and put them in the refrigerator. I waited about 24 hours before opening one.

Today I tried the first one. It was good! It’s not the same as the really pickled stuff, but delicious. It’s a total success.

I may try some of the additional wrinkles I’ve seen some recipes use. Some cook the vegetables lightly first. Some use a mixture of distilled and apple-cider vinegar. One uses orange juice as a sweetener. But I’m quite pleased with the results so far.

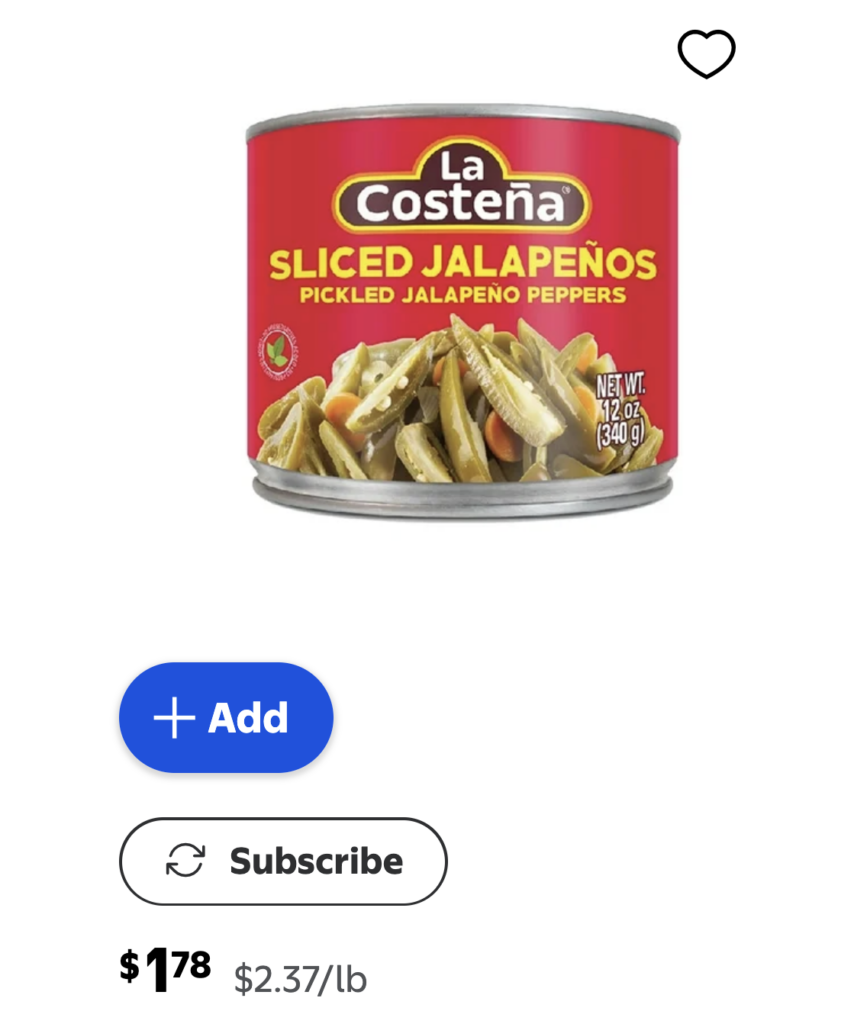
To be honest, after these experiments, I’ll probably just go buy the canned stuff. It’s hard to beat $1.78. Even one basket of fresh jalapeños cost $2.50. But it’s always fun to try making stuff yourself.
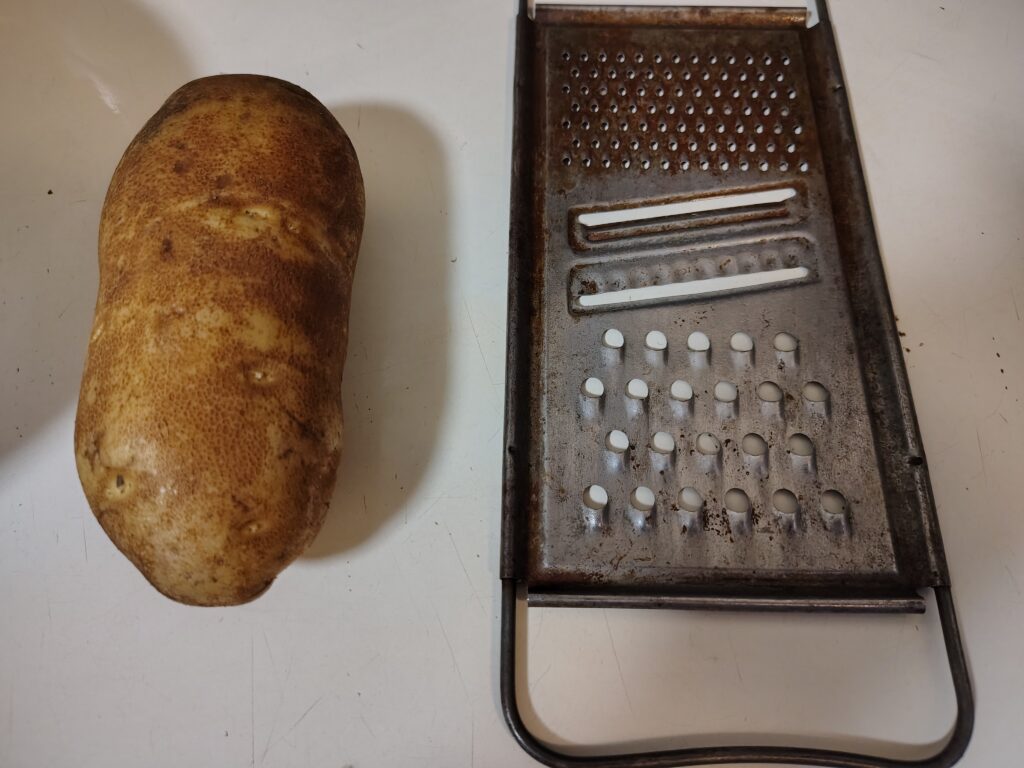
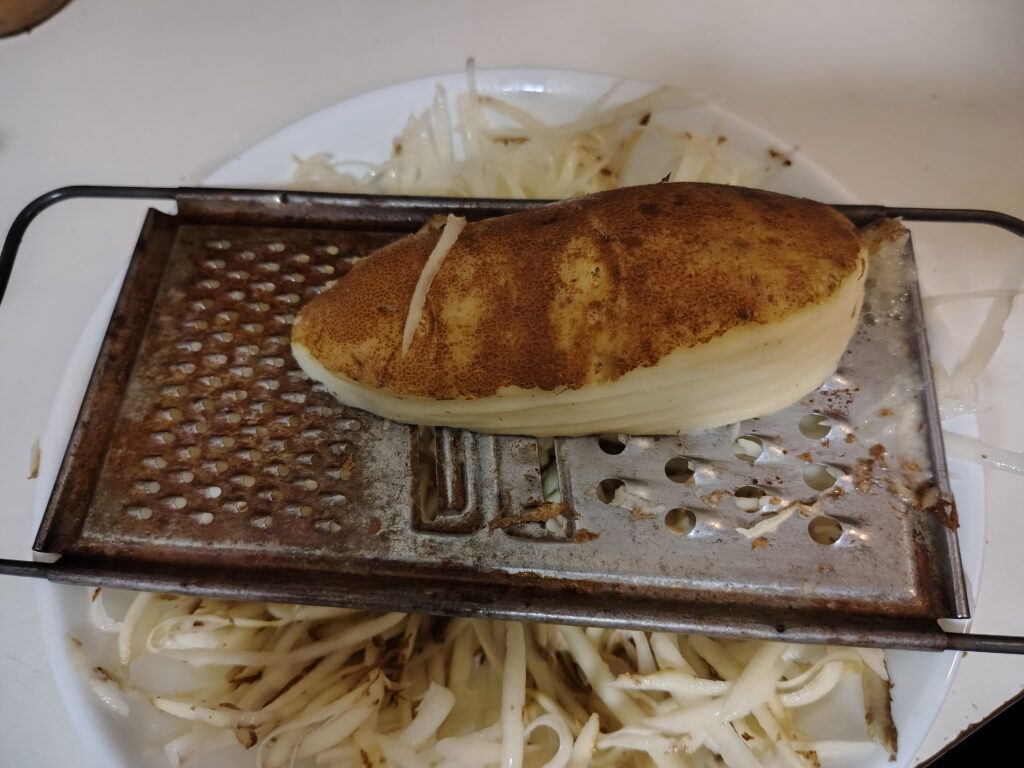
A russet potato and grater.

I’ve always loved hash browns. It’s perhaps my favorite way to eat potatoes. I don’t really like mashed potatoes (though they’re edible with enough gravy). And, as far as I’m concerned, you can discard the potato part of a baked potato because I really only like the skin. But hash-browned potatoes are special.

I tried making them a few times years ago and failed pretty utterly. Then I discovered a boxed brand of dehydrated potatoes that worked OK. They weren’t great, but it was better than nothing. Then the grocery store quit carrying that brand. So I broke down and actually looked at some recipes for hash browns. Using those, with several rounds of experimentation, I’ve developed a set of heuristics that works pretty well for making hash browns the way I like them.

I’ve tried several varieties of potatoes and found that russets seem to be the best for hash browns. The others have a tendency to become mushy. Nobody likes mushy hash browns.

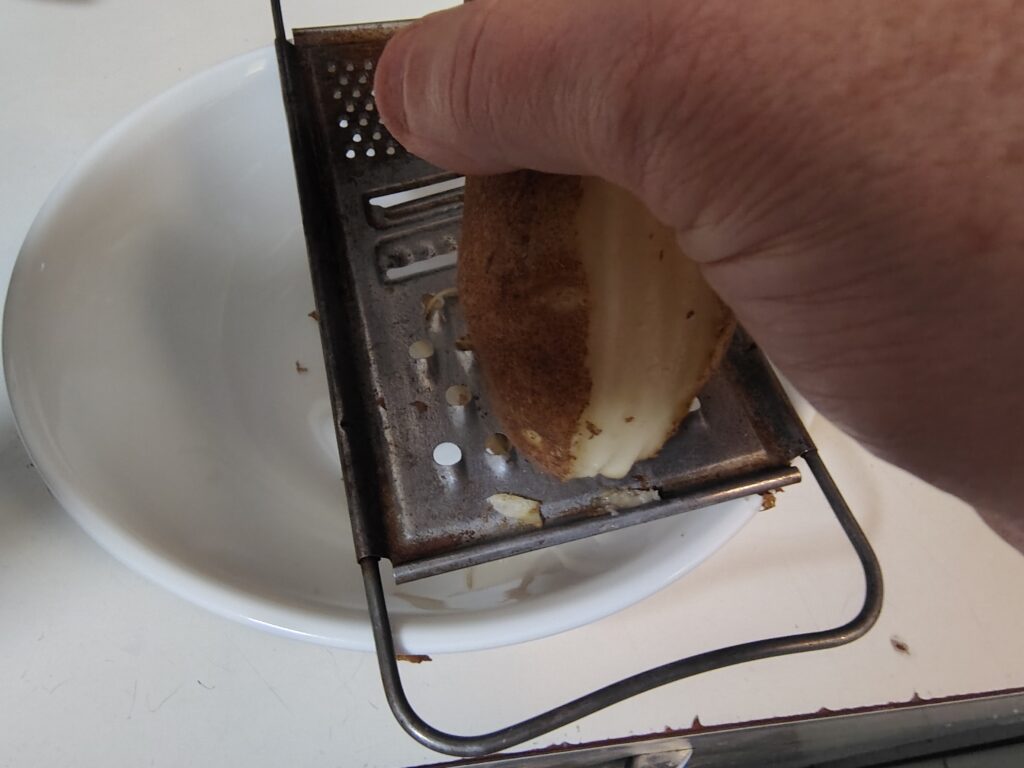
I have this ancient grater that works, but requires a few tricks. I start by grating all around the potato, to make a band around the potato. Then I rotate the potato and grate along the longest edge, periodically switching which direction I’m grating to grate the potato evenly. This gives nice long strips of potato. Eventually, I turn the potato on its end and grate it down to a tiny bit of skin.

Note that I include the skin in my hash browns. Some weirdos might like to peel the potato before grating it, but for me the skin is the best part.

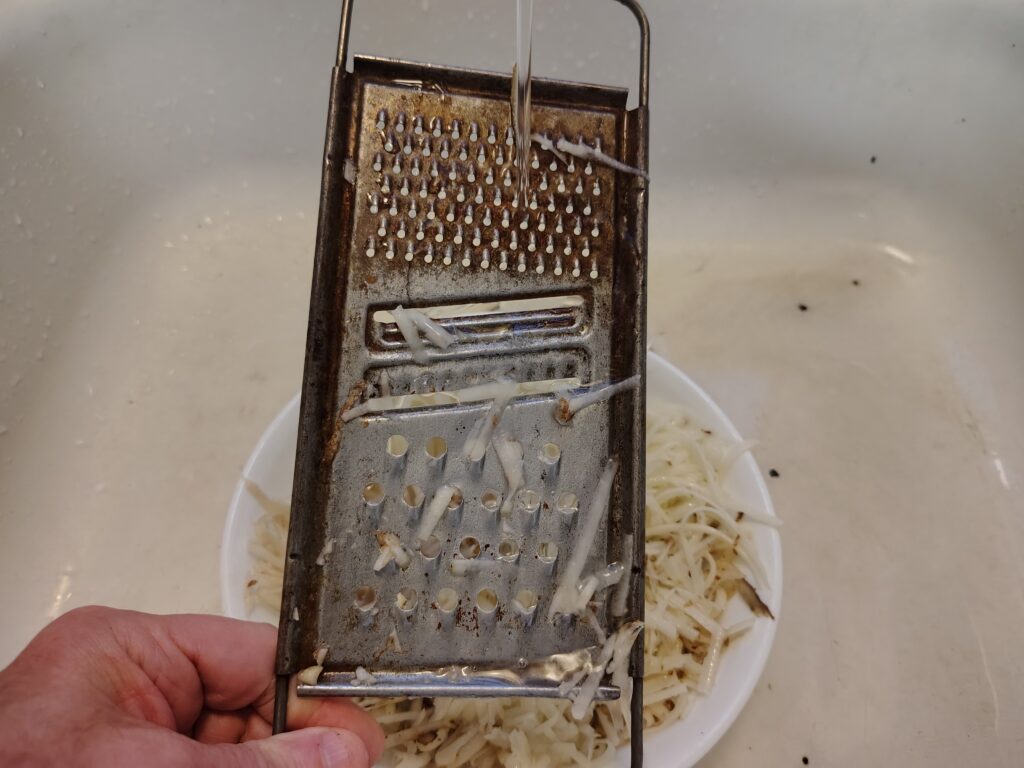
Once the potato is grated, I fill the bowl with water (which is a convenient way to rise the rinse the grater. Then I add a fair amount of salt to the water. I probably should measure how much salt I use sometime. I’m not sure it really matters all that much. Most of the salt is lost when you drain the potatoes. But I think increasing the osmolarity of the water causes the potatoes to lose water, which makes them taste better.

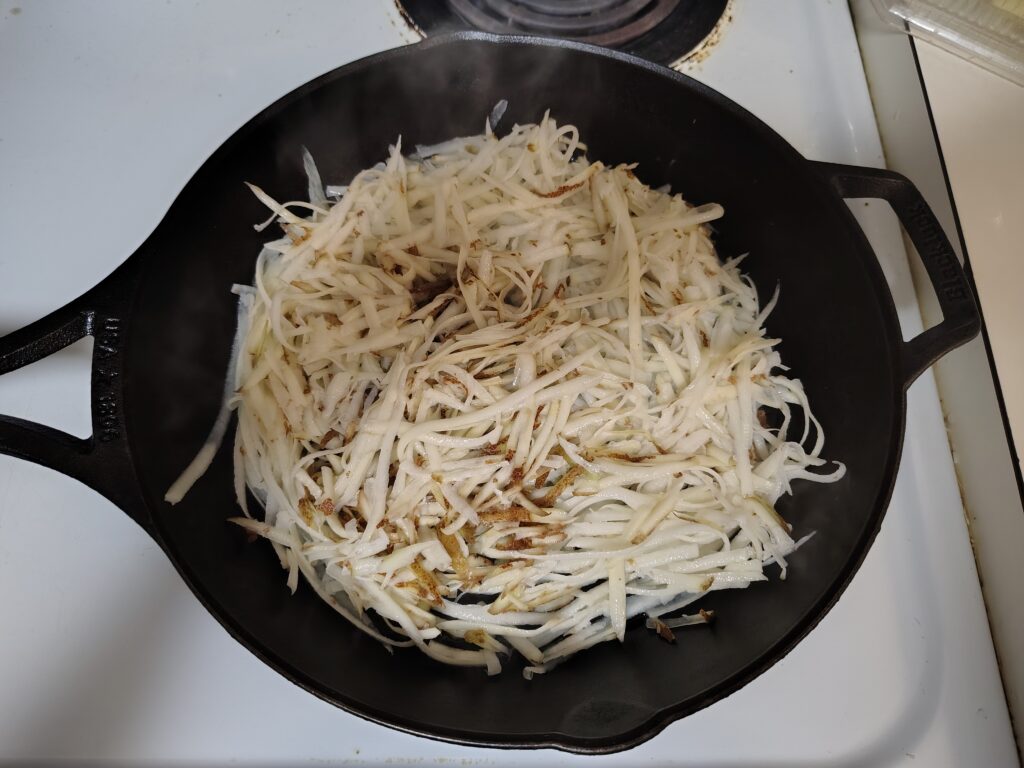
Once the potatoes are soaking, I pour a bit of canola oil into the cast iron skillet and start heating it up. I use medium heat (6/10 on my dial). As the skillet heats up, I drain the potatoes into a colander. Once the oil is hot, I spread the potatoes out in the skillet.

I let them cook until they’re brown on one side (5-10 minutes) then flip them over, usually in two portions. Rather than timing, I tend to cook them until I see and smell that they’re browning. Probably actually timing things would be better, but I’m not that kind of cook.

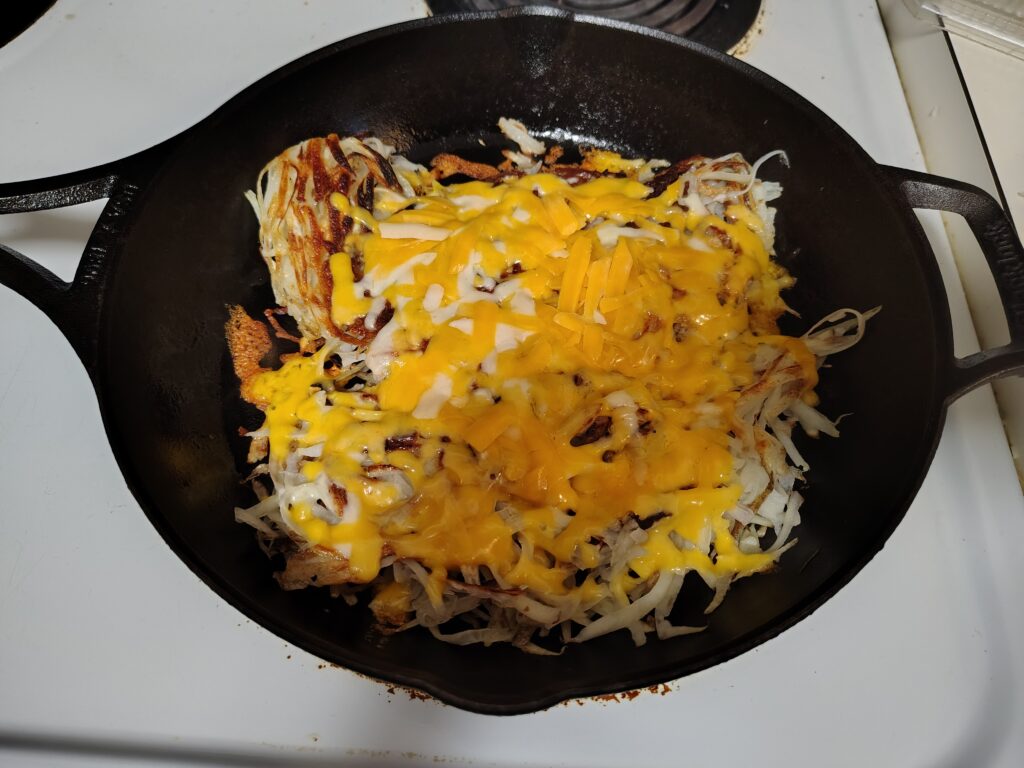
I usually like to melt some cheese on my hash browns. I sometimes joke that this is how I make my vegan hash browns non-vegan. There are other ways you could make them non vegan: e.g. use butter or bacon grease instead of canola oil. Or make breakfast stew.

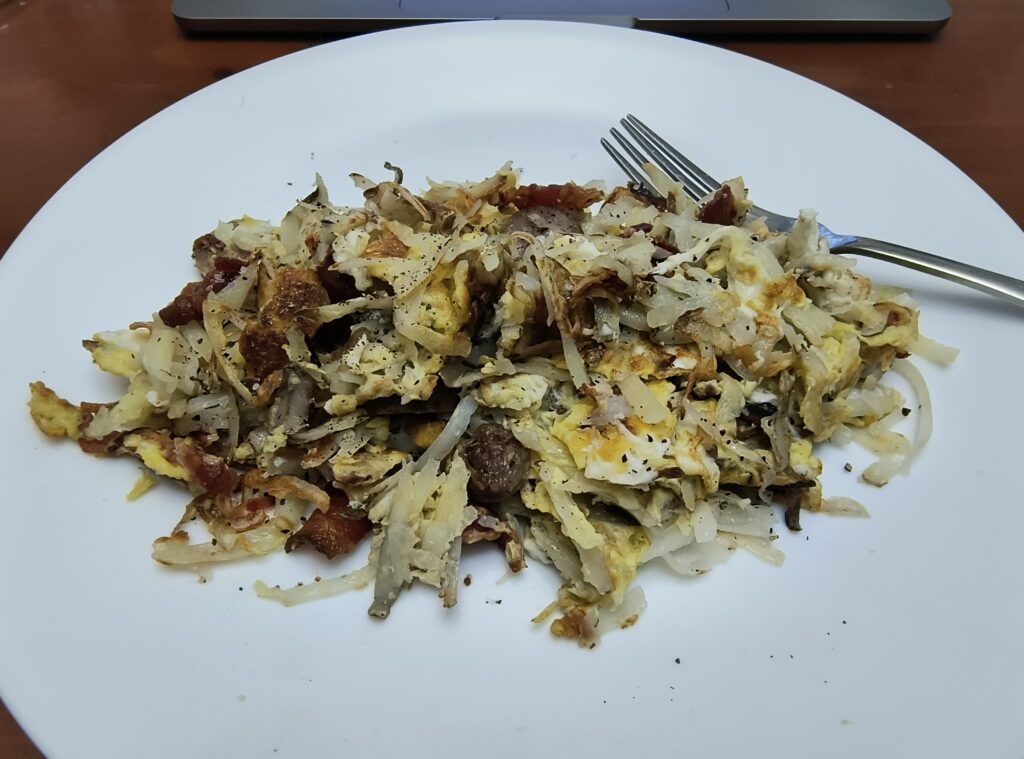
Maggot's Breakfast Spew: a plate of hashbrowns with scrambled eggs, sausage, and bacon.

A restaurant in Southwest Michigan I used to frequent in graduate school made a dish called “Maggie’s Breakfast Stew” which is easy to make at this point. Rather than adding cheese, just throw in some diced sausage, bacon bits, and two eggs, then scramble. I think they also added onions and green peppers, but I think it makes the dish a little wet. You can add cheese at the end too. Or not. It’s not going to be vegan either way.

I used to call it “Maggot’s Breakfast Spew” because it’s not a very pretty dish. I imagined they kept these giant caterpillars in the kitchen that would eat the ingredients and then they would squeeze them out into the pan to cook the dish. I have a very vivid imagination.

Maggie’s is also where I learned to make a so-called Mexican omelet, but that’s a recipe for another day.

Anyway, that’s how I make hash browns. Enjoy!

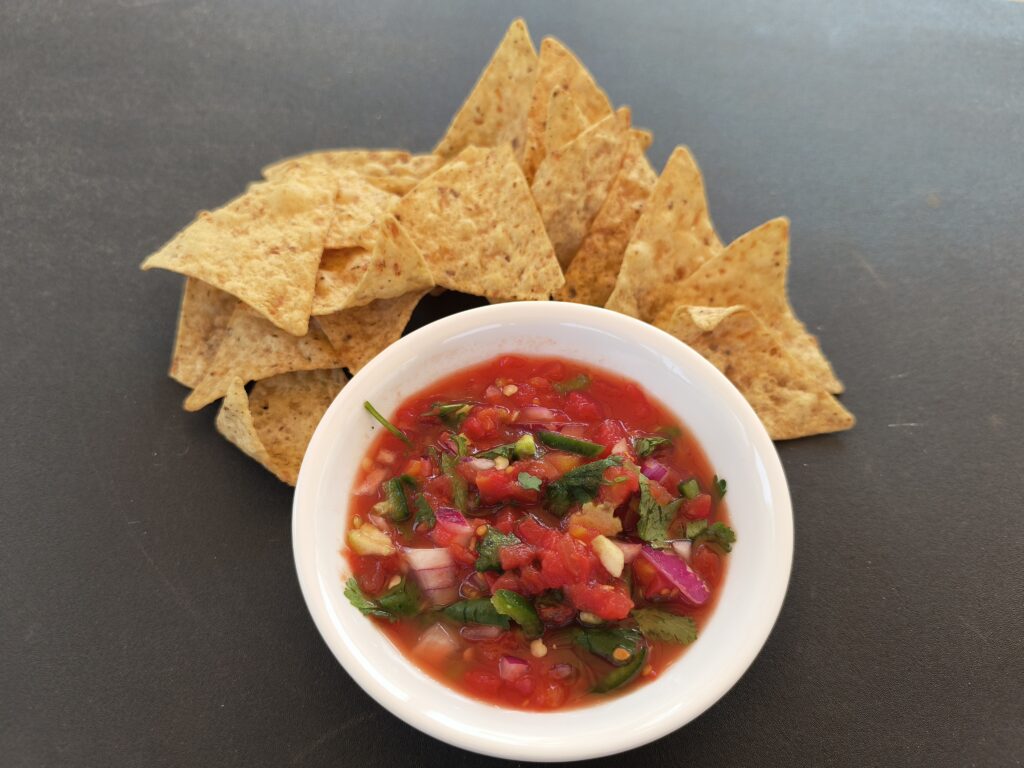
After a long chilly spring, the weather has finally turned hot. And hot weather requires hot salsa.

A few restaurants I visited, especially in the southwest, had great salsa or — if you were lucky — fresh pico-de-gallo. Most of the salsa I found in our local grocery store, however, was disappointing. I think I must have tried every kind of fresh or bottled salsa over the years, looking for the right one. Little did I know how easy it was to make your own salsa. Here’s my recipe:

Ingredients

1 large can of petite-diced tomatoes

1 red onion, diced

2 jalapeño peppers, finely chopped

several sprigs of cilantro, coarsely chopped

1 big squirt of bottled lime juice (maybe two or three limes worth)

salt to taste

Directions

Dump the can of tomatoes in a plastic storage container, add the onions, jalapeños, cilantro, lime juice, and salt. Mix.

That’s it. That’s all you have to do. None of the proportions are really important. Just use a smaller can of tomatoes to make a smaller batch. But, honestly, why would you ever do that?

It does get better if you let it sit for a while. But, on a hot day, ain’t nobody got time for that.